Table of Contents
Piriformis syndrome turns a simple desk job into a daily battle with deep buttock pain. The chair you sit in plays a bigger role in managing it than most people realize. This guide covers what to look for and which chairs actually help. If symptoms are severe or persistent, consult a healthcare professional before making changes to your workstation setup.
Understanding Piriformis Syndrome
What the Piriformis Muscle Does
The piriformis is a small, flat muscle located deep in the buttock, just beneath the gluteus maximus. It runs from the lower part of the sacrum to the top of the femur and has two primary functions: rotating the hip outward and stabilizing the hip joint during movement.
Its location is what makes it vulnerable. The sciatic nerve passes just beneath the piriformis in most people. In roughly 15% of the population, the nerve actually runs through the muscle itself. In either case, when the piriformis tightens or becomes inflamed, it can press directly on the sciatic nerve.

Why It Gets Irritated When You Sit
Sitting places the piriformis in a mechanically difficult position. When the hips are flexed at 90 degrees or less, which is the typical angle in a standard chair, the piriformis is simultaneously stretched and compressed against the underlying bone. Sustain that position for several hours a day and the muscle gradually tightens and thickens.
Poor seat design accelerates this. A chair that tilts the pelvis backward flattens the lumbar spine and increases tension across the entire hip area. A seat that is too deep forces you to slide forward or slouch, concentrating pressure on the deep buttock tissue. Both patterns are common in standard office chairs.
Symptoms to Recognize
Piriformis syndrome is easy to misidentify because its symptoms overlap with both sciatica and general buttock pain. The most common signs include:
- Deep, aching pain in one or both buttocks, typically worse after prolonged sitting
- Pain that radiates down the back of the thigh, often mistaken for a disc problem
- A sharp or burning sensation when climbing stairs or rising from a seat
- Discomfort or difficulty sitting with the legs crossed
- Tenderness in the center of the buttock, not along the spine
How It Differs from Sciatica and General Buttock Pain
Understanding the distinction matters because it determines which chair features actually help.
True sciatica originates in the lumbar spine, where nerve roots L4 through S1 are compressed by a herniated disc or bone spur. Because the problem starts at the spine, lumbar support is the primary intervention.
General buttock pain is typically caused by direct pressure on the ischial bones beneath the glutes and is largely resolved by improving seat cushion quality and pressure distribution.
Piriformis syndrome is different from both. The nerve compression happens at the buttock level, not the spine, so lumbar support alone is not enough. The priority is reducing tension in the piriformis muscle itself, which means managing hip angle and avoiding sustained static pressure on the deep buttock tissue.
Key Chair Features to Look For
Not every ergonomic feature matters equally for piriformis syndrome. These six have the most direct impact on how much tension builds in the piriformis during a workday.
Seat Tilt and Open Hip Angle
This is the most important feature for piriformis syndrome and the one most standard chairs overlook. When the seat is flat or angled backward, the hip flexion stays at 90 degrees or less, keeping the piriformis in a shortened, compressed state throughout the day.
A forward-tilted seat opens the hip angle beyond 90 degrees and reduces muscle tension significantly. This is the same principle behind kneeling chairs: by positioning the knees lower than the hips, they create an open hip angle that decompresses the piriformis. The drawback with dedicated kneeling chairs is that all body weight shifts onto the knees and shins, which becomes uncomfortable with extended use.
The Freedom-X Multi-Posture Pro and the Standing-Mate achieve the same open hip angle without that trade-off. The Freedom-X uses an adjustable seat tilt; the Standing-Mate uses a forward-angled perching design.
Seat Depth and Waterfall Edge
Seat depth determines where pressure concentrates along the thighs and buttocks. A seat that is too deep forces you to slide forward or sit against the front edge, directing pressure toward the deep buttock tissue where the piriformis lies. The correct depth leaves two to three finger-widths of space between the front edge of the seat and the back of the knees.
A waterfall seat edge, one that slopes gently downward at the front rather than ending abruptly, further reduces thigh compression and allows the legs to rest in a more natural, relaxed position.
Multi-Posture and Position-Switch Support
Sustained pressure in any single position is what drives piriformis irritation over time. A chair that allows switching between upright sitting, a reclined position, and an open cross-legged posture distributes load across different muscle groups throughout the day rather than concentrating it in one area. A chair designed around posture variety addresses this better than one optimized for a single correct position.
Lumbar and Pelvic Alignment
Proper lumbar support prevents posterior pelvic tilt, the position where the pelvis rolls backward and the lower back flattens against the seat. Posterior pelvic tilt keeps the piriformis under a prolonged stretch and is one of the most common reasons standard chairs worsen symptoms over time. An auto-following lumbar mechanism maintains pelvic alignment even as you shift weight and recline, making it more effective for this condition than a fixed lumbar pad.
Seat Cushion Firmness and Pressure Distribution
Medium-firm foam is the right target for piriformis syndrome. A seat that is too soft causes sinking, which narrows the hip angle and concentrates pressure on the central buttock where the piriformis lies. A seat that is too firm creates direct pressure points with no distribution across the tissue.
Contoured seat foam that curves slightly upward at the sides spreads body weight toward the outer thighs and away from the deep buttock, a design detail worth checking before purchasing.
Armrest Adjustability
Armrests have an indirect but real effect on piriformis loading. When armrests are poorly positioned, the shoulders compensate by tensing, and the hips shift laterally to find balance. That lateral shift concentrates more weight on one side of the buttock, unevenly loading the piriformis. Four-way adjustable armrests (height, width, angle, and depth) keep the upper body properly aligned and prevent this secondary loading pattern.
Best Newtral Chairs for Piriformis Syndrome
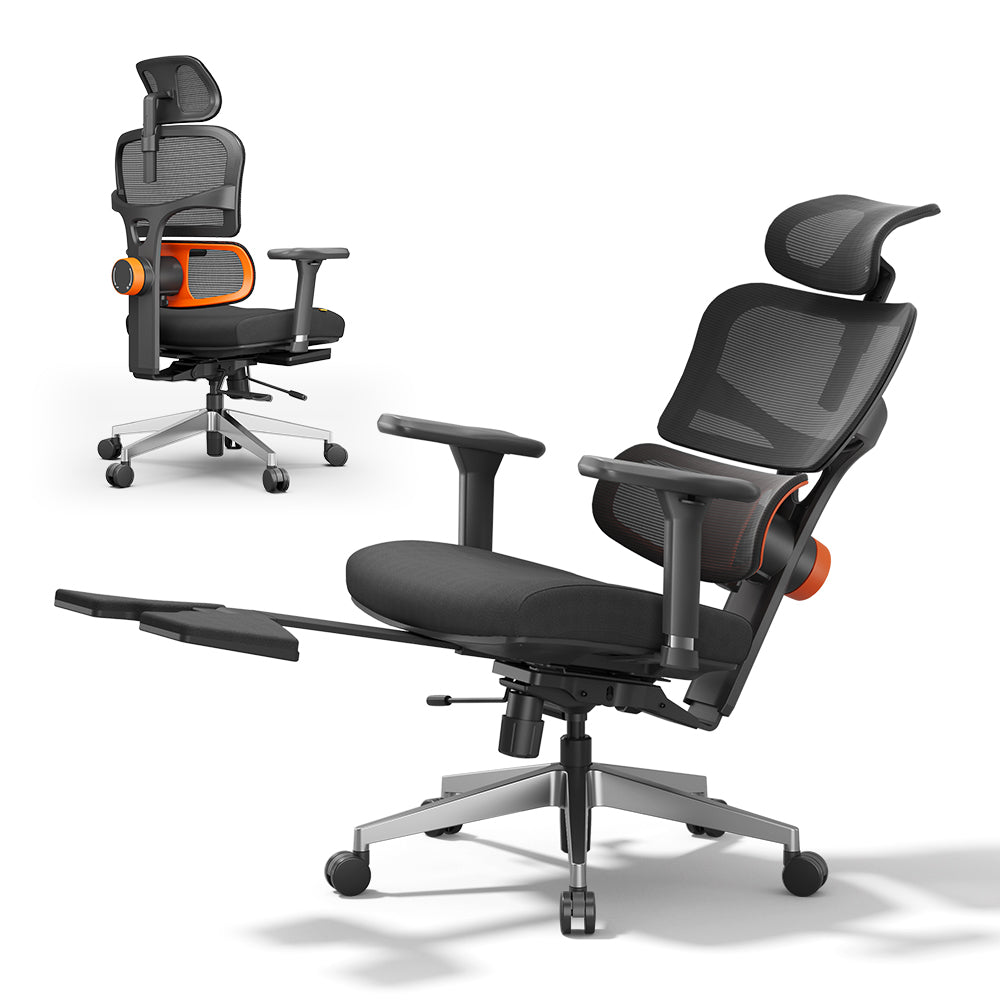
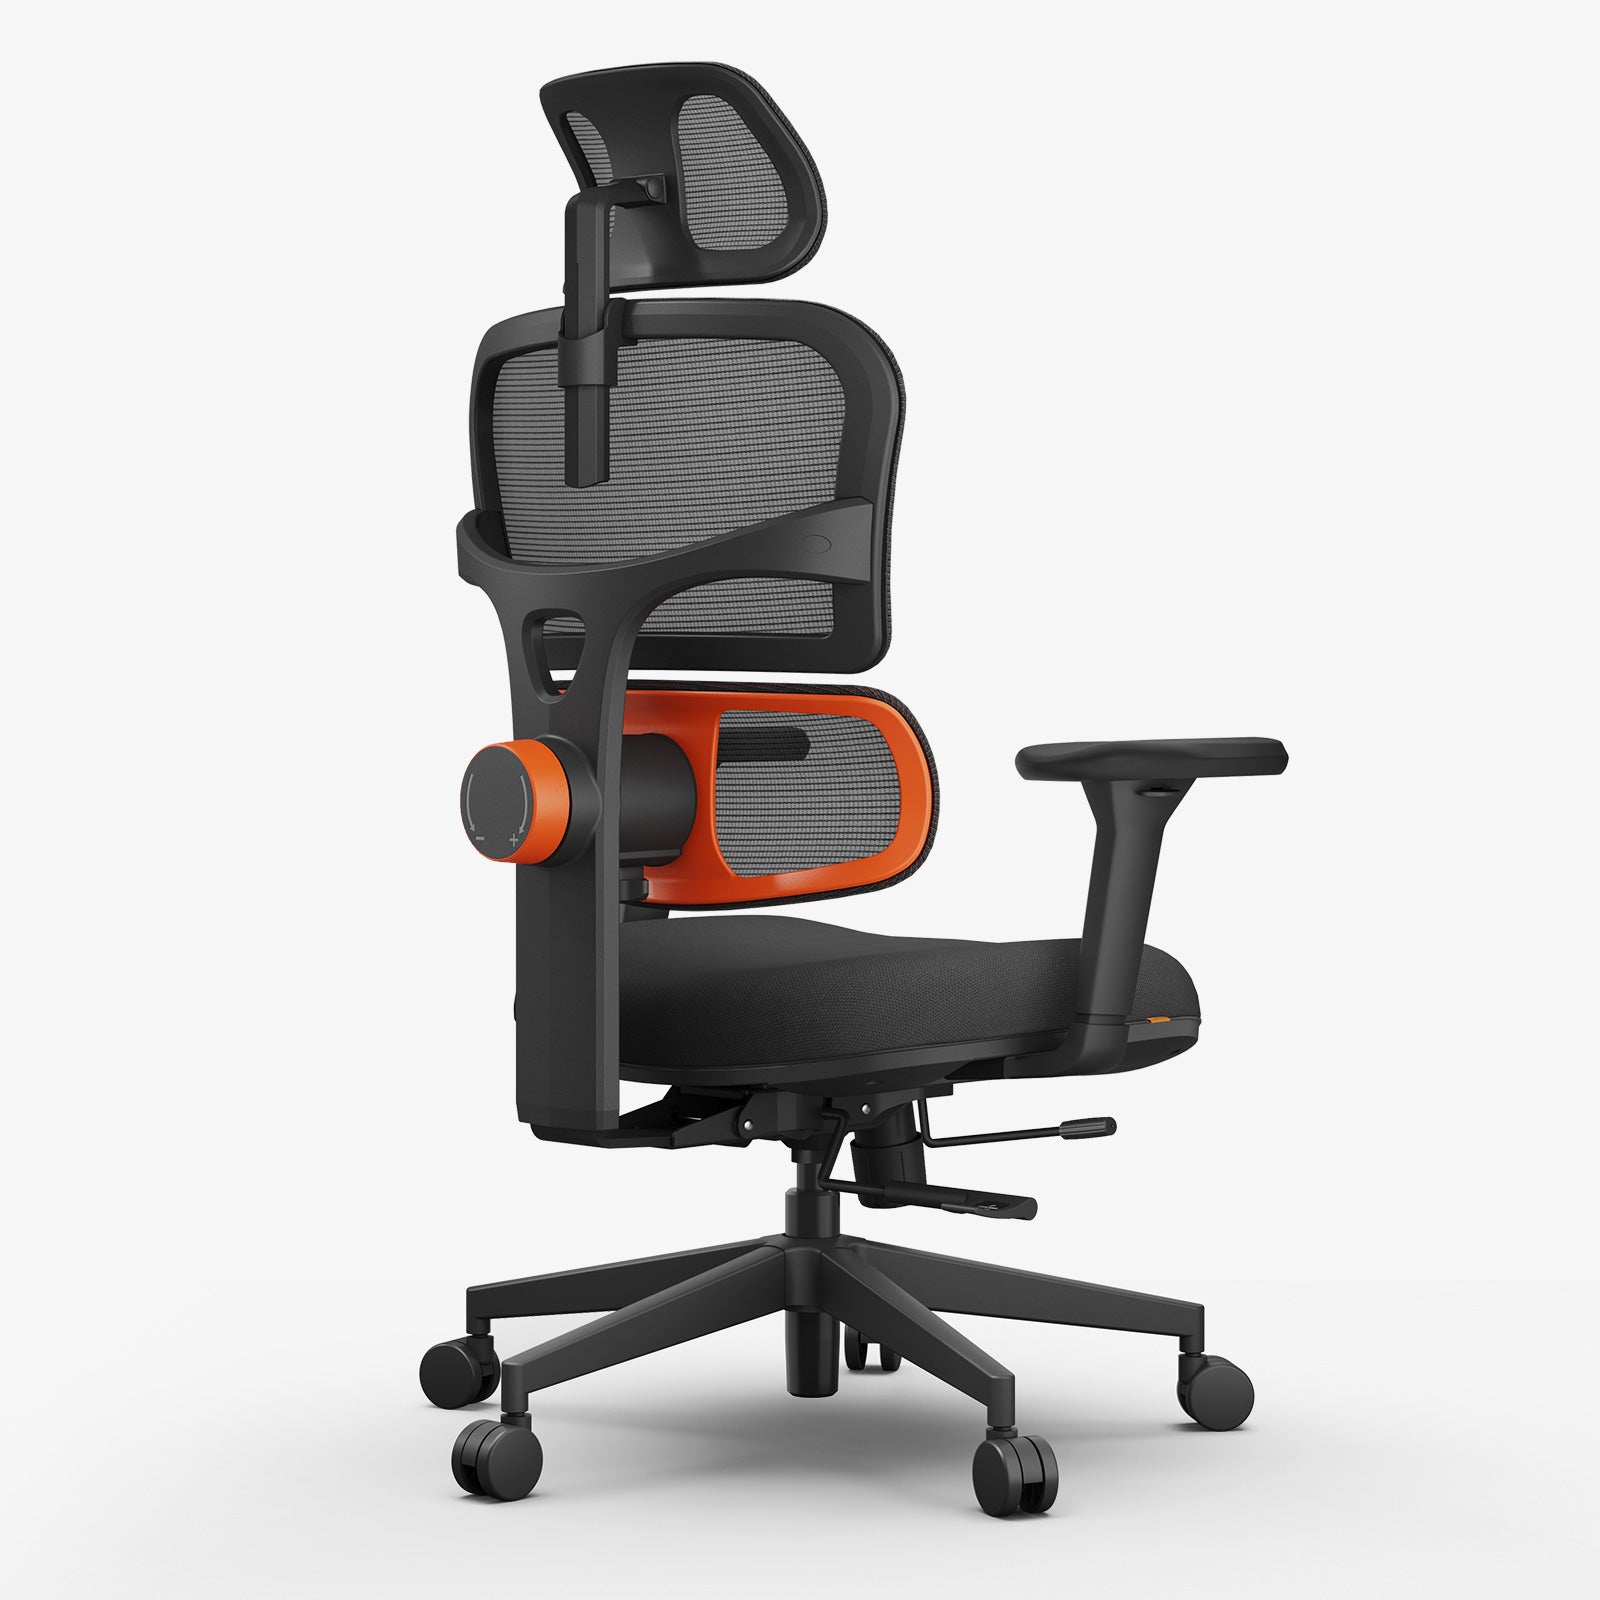
Freedom-X Multi-Posture Pro — Best for Position Switching
The Freedom-X Multi-Posture Pro Chair is the most directly relevant option for piriformis syndrome. The seat supports three distinct postures: conventional upright sitting, a reclined open angle (lockable across a 90°–117° range), and a cross-legged position, allowing rotation between them throughout the day without leaving the desk. That 90°–117° recline range is what creates the open hip angle that decompresses the piriformis, unlike standard chairs that lock the hip at or below 90°. The 8-level flip-up armrests and adjustable seat depth add further fine-tuning for different body types.
For anyone whose symptoms are primarily triggered by fixed sitting positions, this is the first chair to consider.
NT001 / NT002 — Best for Lumbar-Pelvic Alignment
The NT001 and NT002 deliver auto-following lumbar support that maintains consistent pelvic alignment throughout the day. Both recline up to 136°, a wider range than the Freedom-X, which allows a more open hip angle during reclined work. The NT002 further adds a W-shaped high-density seat base that distributes body weight toward the outer thighs, reducing direct pressure on the deep buttock tissue. Its 4D armrests (adjustable in height, width, angle, and depth) and extendable footrest also support regular leg position changes throughout the day, helping prevent the static piriformis loading that accumulates over long sessions.
For those spending eight or more hours at a desk with symptoms closely tied to spinal and pelvic posture, the NT002 is a particularly strong fit.
For a detailed breakdown of how the NT and Magic H collections differ, see the NT vs. Magic Collection comparison.
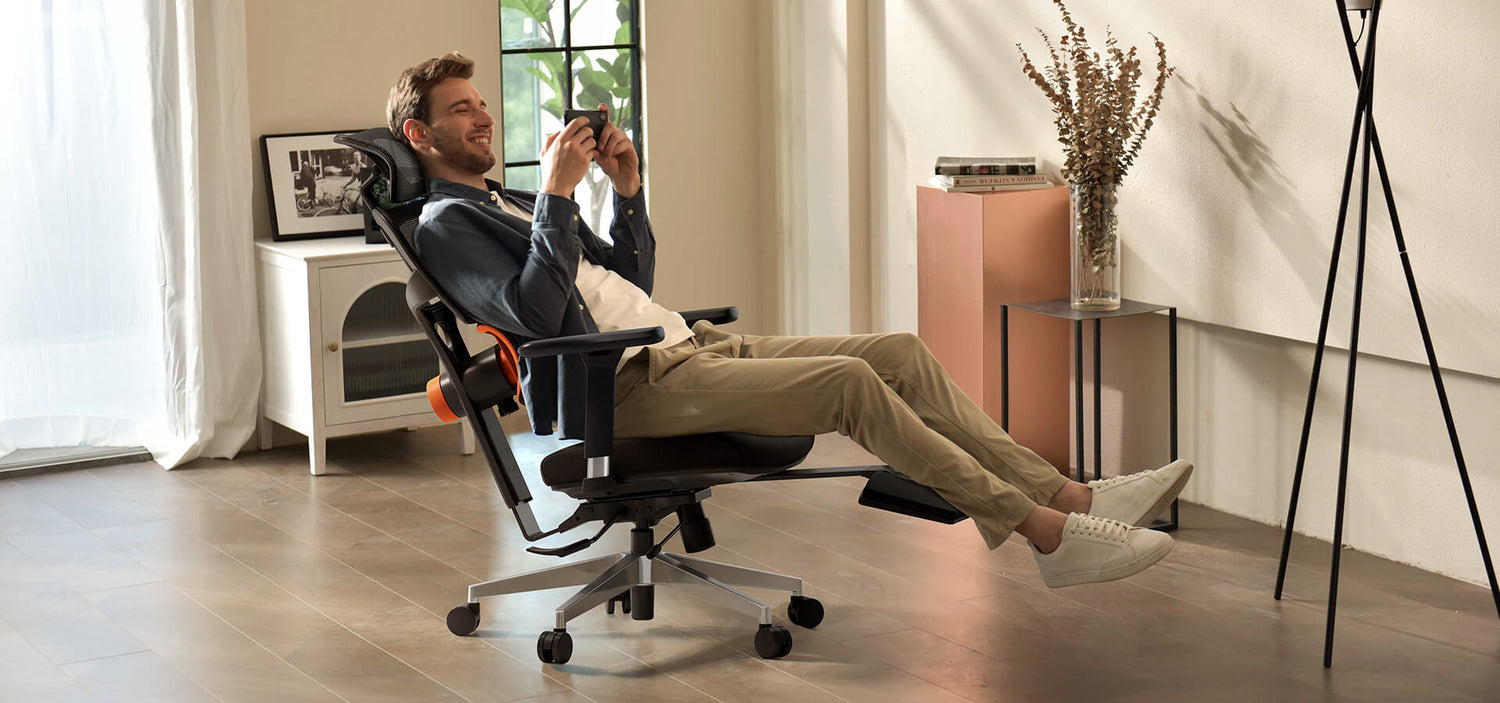
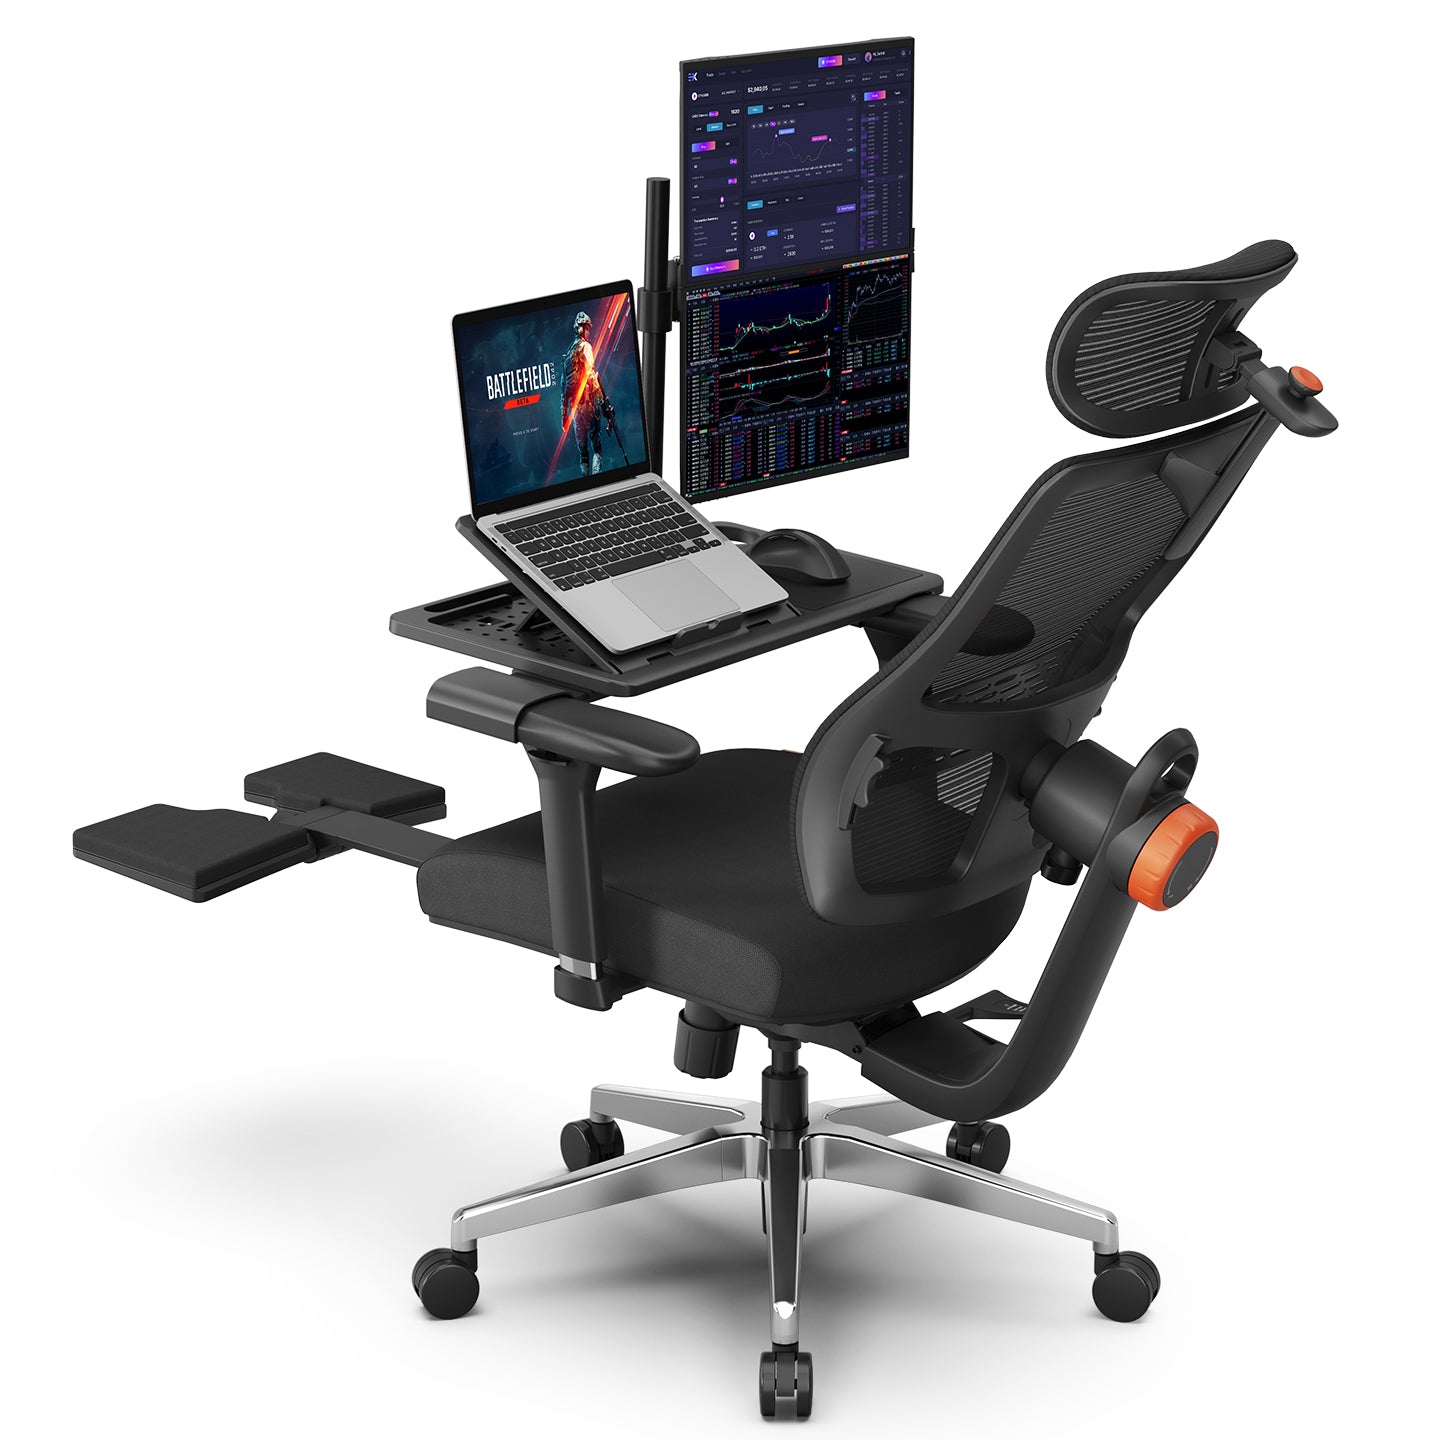
Standing-Mate — Best for Sit-Stand Alternation
The Standing-Mate Ergonomic Standing Desk Chair takes a different approach to piriformis relief. It supports 8 distinct postures: upright sitting, reclined sitting, reverse sitting, standing back support, hip support, chest support, side leaning, and kneeling. This range of positions means the piriformis is never held under load in one angle for long, which is the single most effective way to manage cumulative muscle tightening throughout a workday. The seat height is fully adjustable to pair with most sit-stand desks, and the chair's perching design naturally opens the hip angle by shifting weight from the buttocks to the legs and core.
For those who use or are considering a standing desk, pairing it with the Standing-Mate creates a sit-stand-perch routine that prevents the piriformis from loading in one position for too long.
Full Comparison Table
|
Freedom-X Multi-Posture Pro |
NT002 |
Standing-Mate |
Magic H003 (budget) |
|
|
Recline Range |
90°–117° |
96°–136° |
104°–125° (4 positions) |
96°–126° |
|
Open Hip Angle |
Adjustable seat tilt |
Open recline |
Perching design |
Limited |
|
Multi-Posture Support |
Yes (cross-legged, reclined, upright) |
No |
Yes (8 posture modes) |
No |
|
Auto Lumbar |
No |
Yes (auto-following) |
No |
No |
|
Seat Depth Adjustment |
Yes |
Yes (5 cm range) |
Yes |
Yes |
|
Best For |
Position variety |
Long desk sessions |
Sit-stand users |
Budget option |
|
Price (USD) |
$399 |
From $499 |
From $319 |
From $279 |
All chairs in this table carry BIFMA compliance along with SGS and ISO 9001 certifications. Full certification documents are available on the certifications.
How to Sit and Set Up Your Chair?
Setting the Right Seat Height
Start with seat height before adjusting anything else. The Ergonomic Chair Height Calculator provides a personalized starting point based on your body measurements. The target is feet flat on the floor, thighs roughly parallel to the ground, with no upward pressure from the seat edge on the underside of the thighs.
Dialing In Seat Tilt and Depth
Once height is set, adjust the seat tilt to a slight forward angle if the chair supports it. Even a three to five degree forward tilt opens the hip angle enough to reduce piriformis compression noticeably. Then set seat depth so two to three finger-widths of space remain between the front edge and the back of the knees, preventing edge pressure from compressing the thigh and indirectly loading the piriformis.
Where to Position Lumbar Support
The lumbar pad should sit in the natural inward curve of the lower back, typically between the waistband and the bottom of the ribcage. The contact should feel like even, gentle pressure rather than a push. If the support is too low, it presses against the sacrum instead of the lumbar spine and tilts the pelvis backward, increasing piriformis tension rather than reducing it.
Armrest Height and Shoulder Alignment
Set armrests so the elbows rest at roughly 90 degrees with the shoulders relaxed and level. When armrests carry some of the arm's weight, the tendency to lean to one side is reduced, which prevents the uneven hip loading described in the features section above.
How to Position Your Body When Sitting
With the chair correctly adjusted, follow these positioning guidelines:
- Push the hips fully back into the seat so the lower back is in contact with the lumbar support
- Keep both feet flat on the floor, hip-width apart and pointing forward
- Avoid crossing one leg over the other, as this internally rotates the hip and directly compresses the piriformis
- Distribute weight evenly across both sit bones rather than favoring one side
- If you consistently drift into a lopsided position, check seat height and depth before assuming it is a posture issue

Daily Habits That Support Recovery
Why Position Switching Matters More Than Posture
There is no single correct sitting posture that protects the piriformis indefinitely. The muscle needs variety. Even a well-supported neutral position, held for hours without change, creates cumulative compression.
How Often to Move, Stand, or Stretch
Aim to change posture or stand briefly every 30 to 45 minutes. This does not require a full break away from the desk. Shifting from upright to a slightly reclined position, standing for two minutes while reading, or simply repositioning the legs all count. The Freedom-X's range of postures and the Standing-Mate's perching position make these micro-changes easier to build into a normal work rhythm.
Seated Stretches for the Piriformis
Two stretches target the piriformis directly and can be done without leaving the chair:
- Seated figure-four stretch: Cross one ankle over the opposite knee, sit tall, and gently press down on the raised knee while leaning slightly forward at the hips. Hold for 20 to 30 seconds per side.
- Seated hip rotation: Keep both feet flat on the floor and slowly rotate one knee outward, holding briefly before returning to neutral.
Repeat each stretch two to three times per side throughout the day.

Conclusion
Piriformis syndrome responds well to the right chair and setup, but the chair is only part of the picture. The features that matter most are seat tilt for an open hip angle, seat depth adjustment, and genuine support for position switching throughout the day. The Freedom-X Multi-Posture Pro addresses the most direct mechanical need; the NT001 and NT002 are the stronger choice when lumbar-pelvic alignment is the priority; and the Standing-Mate works best as part of a sit-stand routine.
Pair any of these with the setup and habit guidance covered here and most people notice a meaningful reduction in symptoms within a few weeks. If you are based in the US, the page HSA/FSA has details on whether an ergonomic chair qualifies under your plan.
FAQs
What is the best type of chair for piriformis syndrome?
Look for adjustable seat tilt, proper seat depth control, and support for multiple sitting positions. The Freedom-X Multi-Posture Pro is particularly well suited because it is built around a posture variety rather than a single fixed position.
How should I sit in a chair with piriformis syndrome?
Sit with the hips pushed fully back into the seat, feet flat on the floor and hip-width apart. Distribute weight evenly across both sit bones and avoid crossing the legs. Set seat height so the thighs are parallel to the floor, and apply a slight forward seat tilt if available to open the hip angle. Change position or stand briefly every 30 to 45 minutes rather than holding any single posture for an extended period.
Is a kneeling chair good for piriformis syndrome?
Kneeling chairs open the hip angle and reduce piriformis tension, so they can provide relief in the short term. However, they shift all body weight onto the knees and shins, which becomes uncomfortable with extended daily use. Chairs like the Freedom-X Multi-Posture Pro and the Standing-Mate achieve the same open hip angle through different design approaches, without placing load on the knees.
Is a standing desk chair good for piriformis syndrome?
Yes, particularly for those who alternate between sitting and standing throughout the day. The Standing-Mate's perching posture opens the hip angle and reduces sustained pressure on the piriformis. Used as part of a sit-stand routine, it limits the total time the piriformis spends in a compressed position each day.
Does crossing your legs make piriformis syndrome worse?
Yes. Crossing one leg over the other internally rotates the hip on the crossed side, directly compressing the piriformis and aggravating symptoms quickly. Even if the position feels comfortable at the moment, it is one of the most common sitting habits that slows recovery. Keeping both feet flat on the floor is one of the simplest and most effective adjustments to make while the condition is healing.
Keep reading:

Hinterlasse einen Kommentar
Alle Kommentare werden vor der Veröffentlichung geprüft.
Diese Website ist durch hCaptcha geschützt und es gelten die allgemeinen Geschäftsbedingungen und Datenschutzbestimmungen von hCaptcha.